

Mechanical installation
Dieser Inhalt ist noch nicht in deiner Sprache verfügbar.
This page covers transport to the installation site, positioning the system, and fixing it to the wall and floor.
Handling
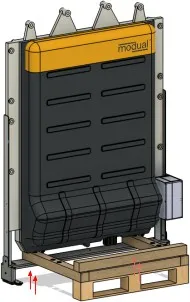
Section titled “Handling”The storage unit can be lifted with a pallet truck from the front, the rear or either side, provided the transport frames are fitted to the front and rear. Handling is the same with or without the pallet frames.
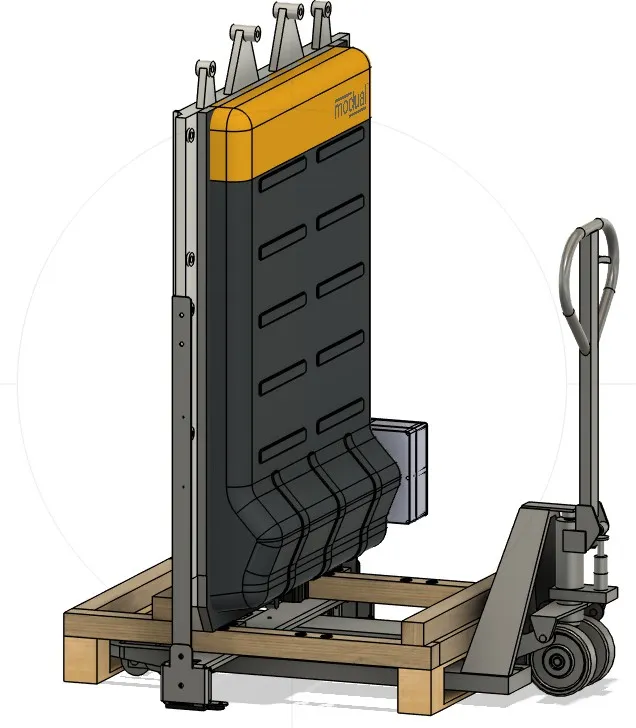
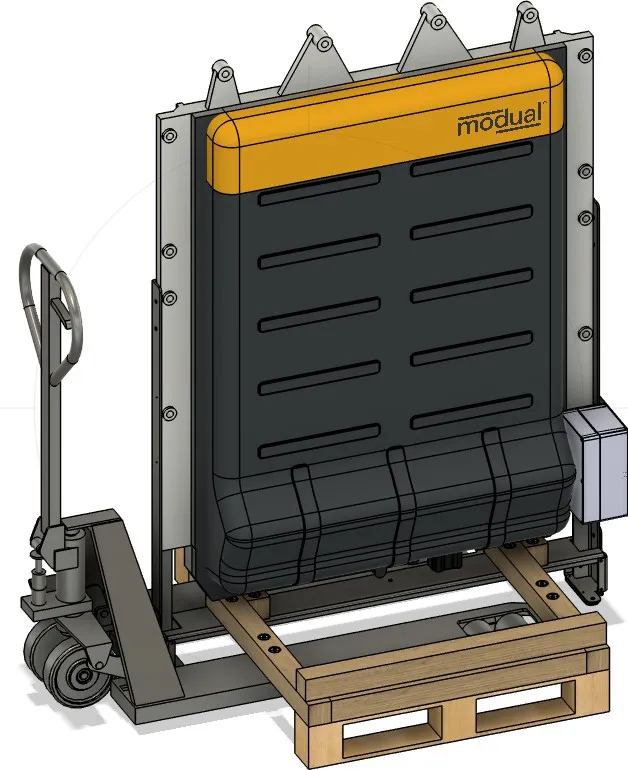
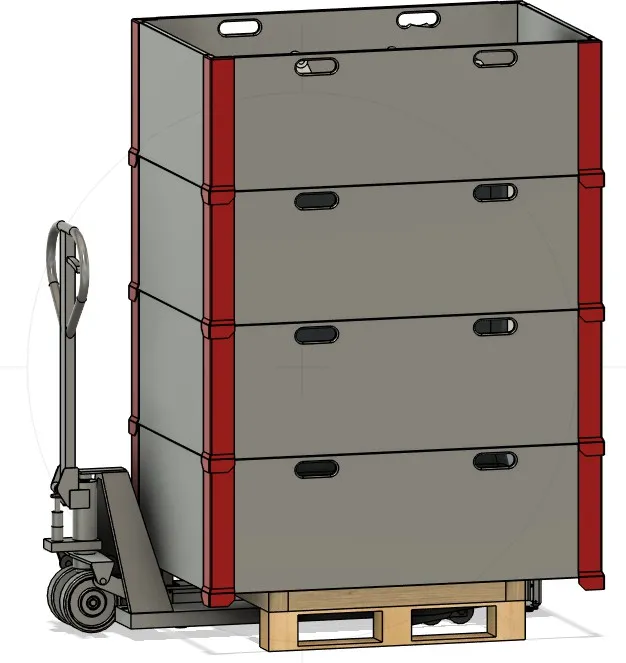
| Condition | Width | Depth | Height |
|---|---|---|---|
| As delivered, with pallet frames | 1220 mm | 1050 mm | 1800 mm |
| Manoeuvrable (frames removed) | 1200 mm | 1050 mm | 1700 mm |
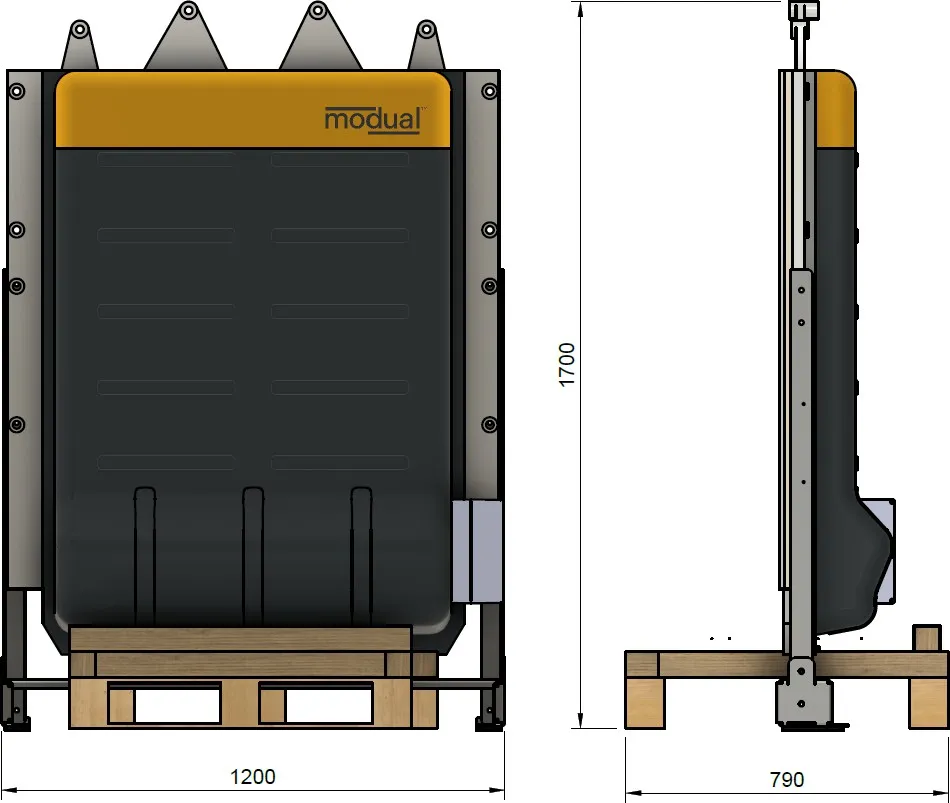
| Front transport frame moved inwards | 1200 mm | 790 mm | 1700 mm |
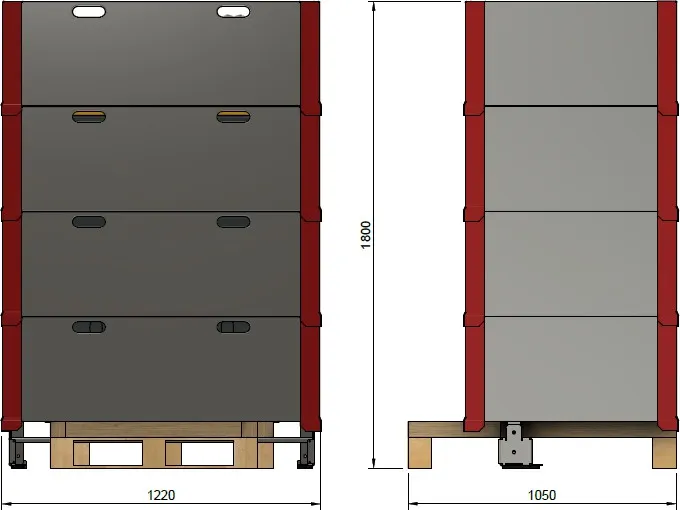
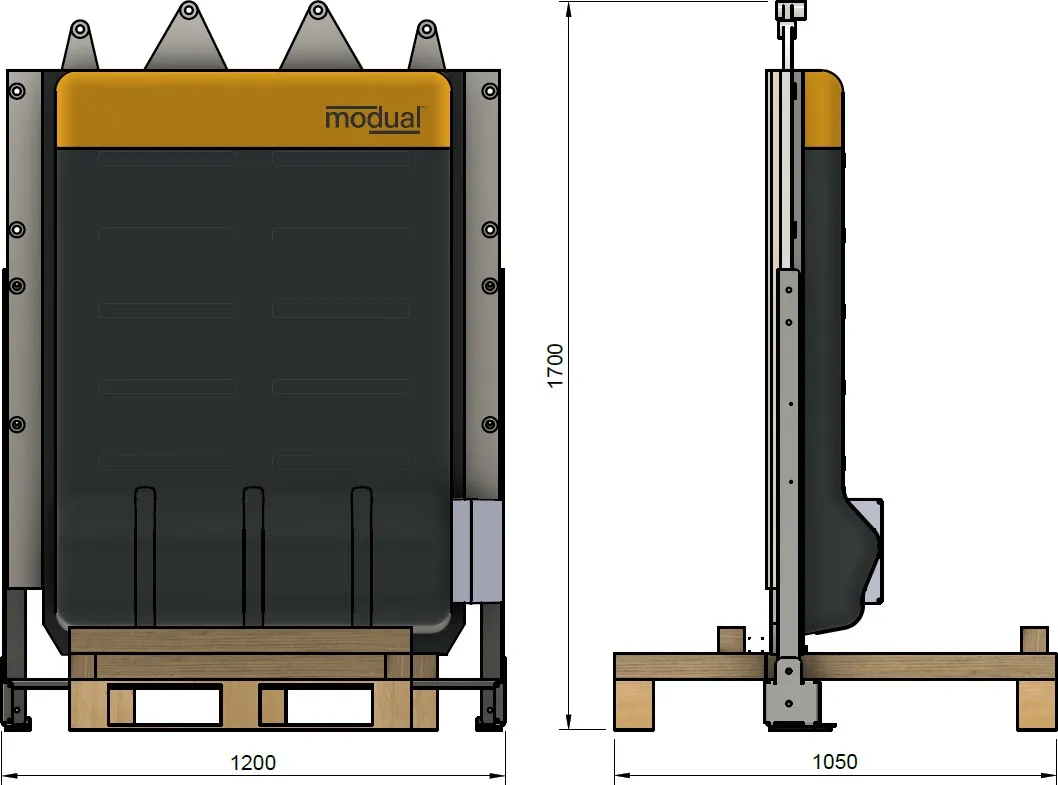
To fit through an 800 mm door frame, loosen the 4 screws of the front transport frame and move it inwards.
Installing the battery pack
Section titled “Installing the battery pack”-
Remove the strapping, pallet lid and pallet frames.
-
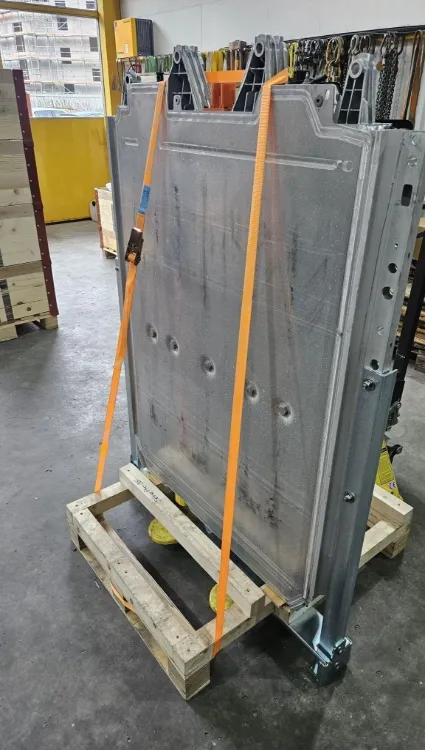
Tighten the Spanset that secures the storage unit at the rear slightly, until the battery is standing upright.
-
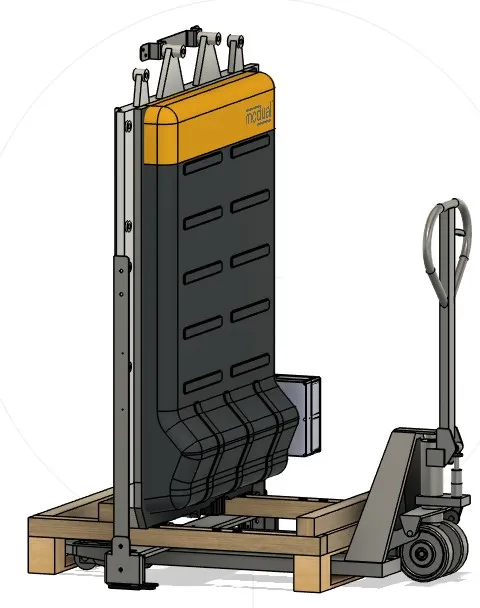
Move the storage system to the desired position with a pallet truck. Leave enough space at the rear for the next step.
-
Remove the rear (wooden) transport frame by loosening the 4 screws on the underside of the base plate.
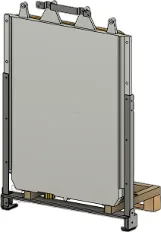
-
Move the storage system to its final position against the wall.
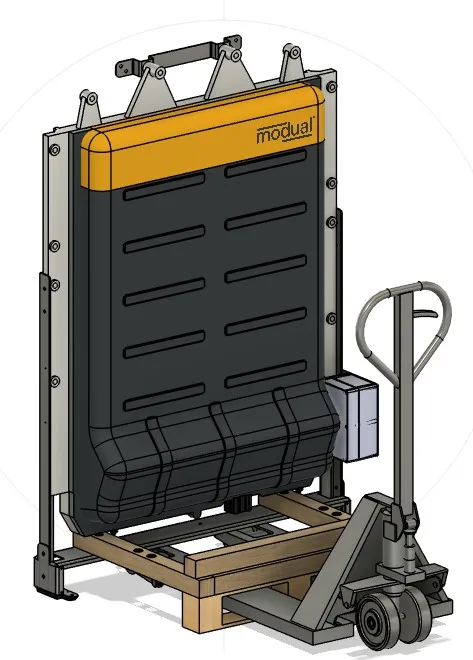
-
Level the storage unit so that it is parallel to the wall and horizontal. Use shims if necessary.
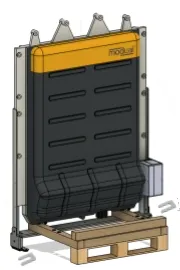
-
Fix the storage unit:
- to the wall, with size 8 wall plugs and suitable screws or with M8 wall anchors;
- to the floor, with M8 bolt anchors.
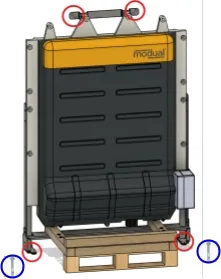
-
Remove the front transport frame.
Loosen the 4 screws from below and remove the frame.
Installing the inverter
Section titled “Installing the inverter”- Inverter on the pack: the inverter is delivered pre-installed. Continue with the electrical connections.
- Inverter on the wall: install the inverter according to the Solis installation instructions.